Sound deck first
We inspect the sheathing before anything is covered. Soft or delaminated sheets are replaced, because a new roof on a bad deck is a leak waiting for the first heavy rain.
A new roof installation in San Antonio is not shingles on a deck. It is sheathing, underlayment, flashing, ventilation and the finished surface, each layer done right, because the roof has to live through 110-plus days a year over 90 degrees, spring hail and wind-driven rain. We install the whole system and document every layer.
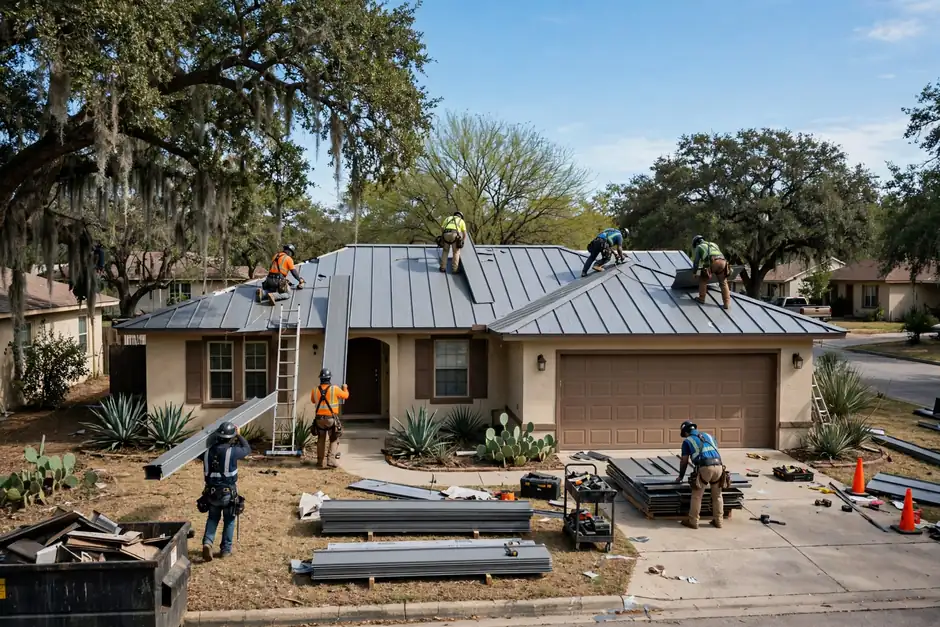
A new roof starts with the deck. We check every sheet of sheathing for soundness, then build upward: underlayment across the field, self-adhering membrane in the valleys, new drip edge and flashing at every wall and penetration, balanced intake and ridge ventilation, and finally the shingle, metal or tile surface. Nothing is covered up before it is checked.
San Antonio's climate decides the details. South- and west-facing slopes age first under the afternoon sun, so fastener placement and sealing matter more here than in a mild climate. A re-roof inside city limits needs a City of San Antonio permit, and the finished roof gets a final building inspection. We prepare the permit paperwork and walk you through the inspection step before work starts.
Every new roof we install is a complete system, not a surface. The items below are standard on our written scope, so you can see what is included before the first delivery arrives.
We inspect the sheathing before anything is covered. Soft or delaminated sheets are replaced, because a new roof on a bad deck is a leak waiting for the first heavy rain.
Synthetic underlayment across the field and self-adhering membrane in the valleys. This is the layer that keeps water out when a shingle or tile is damaged.
Step flashing at walls, pipe boots at penetrations and new drip edge around the perimeter. Old or reused flashing is where most new-roof leaks start.
Ridge ventilation paired with soffit intake, sized to the roof area. It keeps the attic from cooking the shingles from underneath in July and August.
We prepare the City re-roof paperwork through BuildSA and the job ends with the City's final building inspection, with the signed-off record for your files.
A magnetic sweep of the lawn and driveway after the job, the gutters are cleared and debris is hauled away. Before we leave we walk the yard with you, so you can see for yourself that it is clean.
We walk the roof and the attic, measure every slope, check the deck from underneath and photograph anything that needs attention. You get a written scope with material options.
Materials, underlayment and coil stock arrive the morning of the job. We protect landscaping, set fall protection and arrange for debris to be hauled away without blocking your driveway.
The deck is inspected sheet by sheet and repaired where needed. Then underlayment and valley membrane go down so the roof is watertight before the surface starts.
Shingles, metal panels or tile go on to the manufacturer's pattern, with new flashing, boots and drip edge fitted as the courses rise. Ridge caps and vents finish the job.
We clear the roof, sweep the gutters, run the magnetic sweeper across the lawn and driveway, and walk the finished roof with you, showing the flashing details.
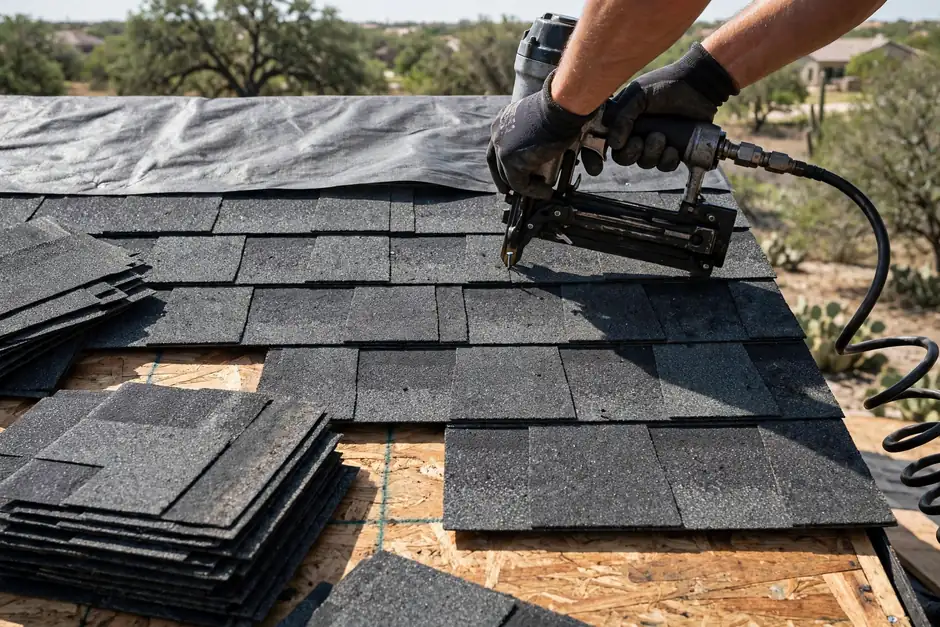
We walk the roof and the attic, measure every slope, check the deck from underneath and photograph anything that needs attention. You get a written scope with material options.
Drives fasteners to the manufacturer's specified depth and pattern. We hand-check placement on every course, because over-driven nails tear shingles.
Clean cuts at valleys, hips and rake edges. Hand-cutting the details is what separates a finished roof from a rushed one.
Detail work and fitting. The pry bar lifts material without damaging sound decking, and the knife cuts underlayment and membrane to fit.
Lays down straight chalk lines so every course starts true. Courses that wander are not a cosmetic flaw; they are the first sign a roof was not laid to spec.
Fall protection on every pitch. We do not put anyone on a roof without it, and we do not put a ladder on a slope it cannot handle.
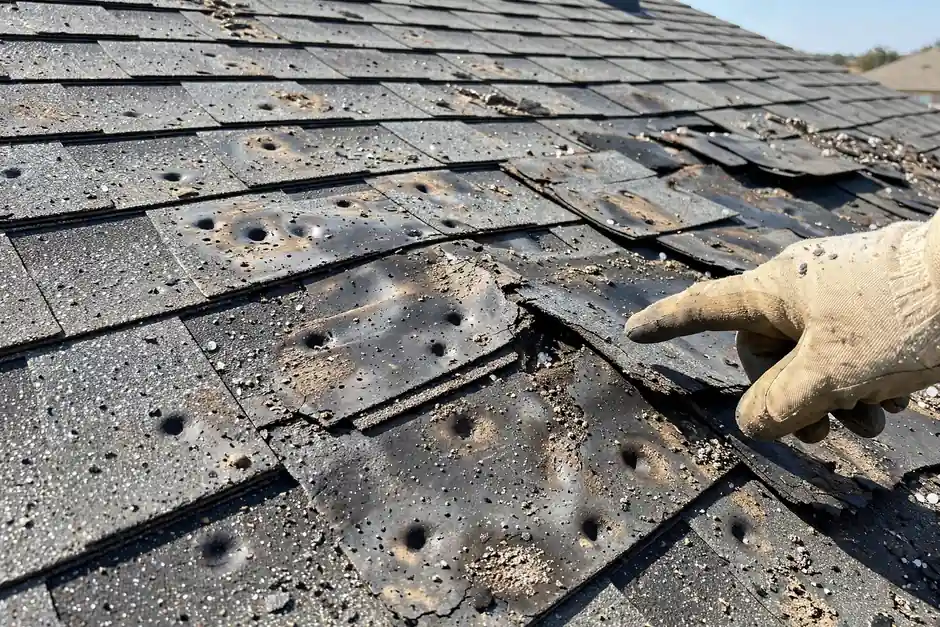
Finds wet decking and hidden leaks from the attic side before they are covered up, so any soft sheet is replaced instead of roofed over.
A two-story home needing its first roof from bare deck up, with a complex hip-and-valley plan and a tile-look HOA palette to match, is a full-system install.
What we do: deck check, full underlayment and valley membrane, new flashing at every wall, balanced ridge ventilation, and the surface installed to the manufacturer's pattern, with the City permit paperwork prepared and the final inspection scheduled.
Book this service →A growing family adding a room needs the new roof tied into the existing one without a leak line where the two meet.
What we do: step flashing woven into the tie-in, valley membrane under the joint, and the new courses blended to the existing pattern, so the seam sheds water instead of collecting it.
Book this service →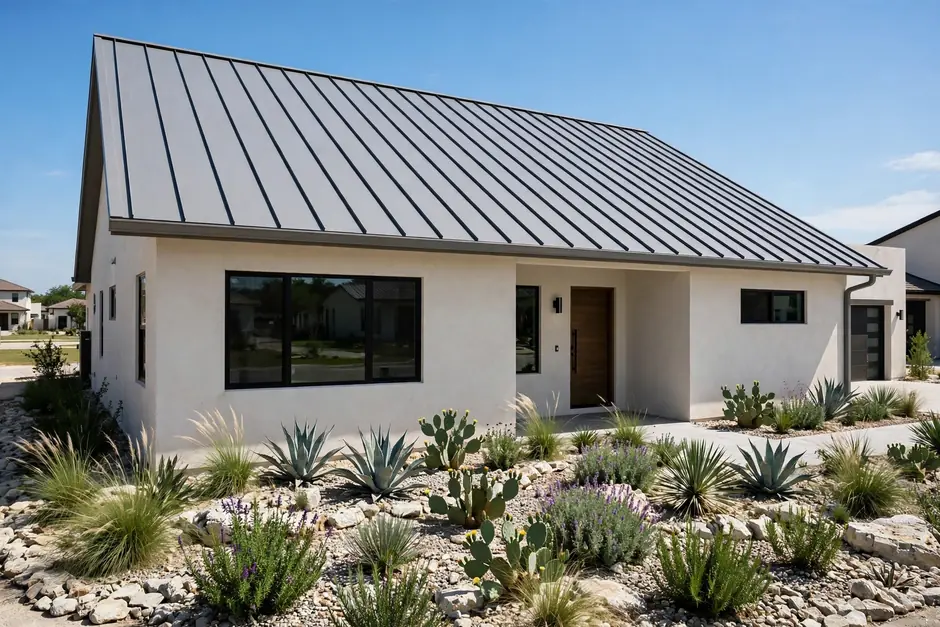
A 1920s home patched slope by slope for years can have a sound deck but a surface that is a mix of ages and materials.
What we do: a full tear-off to the deck, deck repairs where needed, and a single consistent system installed across the whole roof, with the historic-district paperwork handled before work starts.
Book this service →A new roof inherits every shortcut taken during the install: a soft deck roofed over, flashing reused to save time, no ventilation planned in, or valleys left to chance. These are the new-install problems we see most, and what each one costs when it is discovered after the roof is already on.
Ask a pro →We inspect the deck from the attic side and replace soft sheets before the surface goes on. Roofing over a soft deck guarantees a sag and a leak.
Every install includes new step flashing, pipe boots and drip edge. Reused flashing is exactly where the next leak starts.
We size ridge ventilation to the roof area and pair it with soffit intake. A sealed-up attic cooks shingles from below and shortens their life.
Valleys get self-adhering membrane under the surface, because that is where wind-driven rain concentrates in a San Antonio thunderstorm.
“Found their ad on marketplace, super quick feed back. Gentlemen stopped by same day to inspect roof. This company is extremely professional and quick. They had our roof done in 2 days. Great price point and easy to work with. Thank you Juarez Contracting.”
Alethia VelazquezGoogle review
“Chris was professional, on time for the estimate, very informative about what needed to be done,and willing to work with me. Thank you for a job well done.”
Belinda SalinasGoogle review
“Very fast estimate and fixed within 24 hours of asking them for help. Very fast and very reliable. My roof looks great!”
Jamie KGoogle review
Yes. A roof that is replaced or installed inside San Antonio city limits needs a City re-roof permit. The flat fee is $28.75, which comes to $31.05 with the City's two 4% surcharges for an online filing. We prepare the paperwork through BuildSA, and the job ends with the City's final building inspection.
A standard single-story home is usually a one- to two-day job once materials are on site. Two-story homes, steep pitches and tile roofs run longer. If we find deck rot or the weather turns, we tell you the revised window the same day and call if anything shifts.
Architectural asphalt realistically lasts 15 to 20 years here. Standing-seam metal lasts 40 to 70 years and tile lasts 50-plus years, though tile underlayment fails at 20 to 30 years. The right choice depends on your home's structure, your HOA and your budget, and we walk through all three before you decide.
Yes, and roofing there follows a different process. All 32 of San Antonio's local historic districts require a Certificate of Appropriateness for exterior work, in addition to the building permit. In-kind replacement is usually approved at staff level; a material or profile change goes to the Historic and Design Review Commission.
One inspection, a written scope with real detail, and a crew that shows up when we say we will. Call (254) 329-0299 during business hours or request an inspection online.
Call (254) 329-0299 →Call us at (254) 329-0299 or send an email. We answer the phone during business hours and return after-hours messages first thing the next business morning. Inspections are by appointment and there is no obligation.